Technical Overview
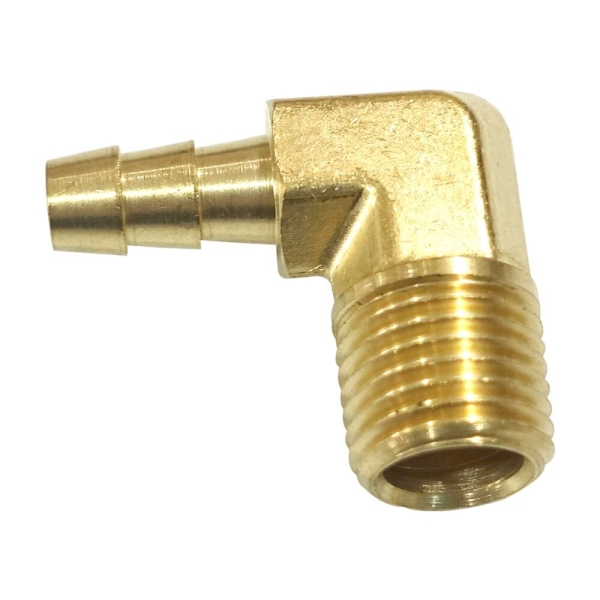
Our hose barb fittings offer an economical and reliable solution for general purpose fluid handling and pneumatic applications. Precision-manufactured from durable brass, these reusable fittings ensure long-lasting performance and secure connections.
Designed for exceptional versatility, these fittings come in both regular and beaded hose barb styles to suit various hose connections. They easily accommodate NPTF, SAE straight thread, and metric thread ends, offering flexibility for diverse industrial systems. These fittings can be securely installed using standard hose clamps or a crimped ferrule, and are also available with pre-applied thread sealant for quick, hassle-free setup.
| Connection Type |
Hose Barb |
| Fitting Shape |
Elbows |
| Material |
Brass |
| Finish |
Natural |
| Working Pressure |
Up to 150 PSI (10.3 bar) |
| Temp Range |
-40°F to +160°F (-40°C to +71°C) |
| Media |
Air, Water |
| Compatible Tubing |
Rubber Hose ,GPH Hose |
Compliance
🟢 RoHS Compliance:
Fully compliant under EU Directive 2011/65/EU and its amendment (EU) 2015/863, utilizing Exemption 6(c) for copper alloys containing up to 4% lead by weight.
🟢 REACH Regulation (EC) No 1907/2006:
Contains Lead (CAS 7439-92-1), an SVHC substance under the REACH Candidate List, above 0.1% w/w. Information obligations under Article 33 have been fully fulfilled.
⚠️ California Proposition 65: WARNING:
This product can expose you to chemicals including Lead, which is known to the State of California to cause cancer and birth defects or other reproductive harm. For more information, go to www.P65Warnings.ca.gov
Assembly Instructions
1.Cut the Hose: Cut the hose cleanly and squarely to your required length.
2.Slide the Clamp: Slide the appropriate hose clamp onto the hose before inserting the fitting.(Note: Depending on your hose size, use specialized clamps)
3.Insert the Fitting: Lubricate the hose. Push the hose onto the fitting until it bottoms out completely against the stop ring or hex.
4.Secure the Clamp: Position the hose clamp properly and secure it tightly using a screwdriver or wrench. Ensure you maintain the correct distance from the fitting hex to achieve optimal clamp positioning.